Hexagonal Pin Looms
This can be done at least 5 different ways with our new design which offers much greater flexibility and more options than any other hexagonal pin loom on the market today.
All pins are set at 10mm centre to centre, however the geometry of the loom changes this as I’ll show as we progress. Instructions for left and right are interchangeable depending on your weaving style.
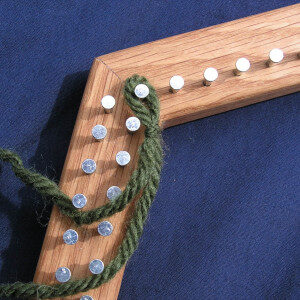
Warp 1 - approximately 8.6mm
For this we’ll just warp right across the loom so you can see what happens.
Hold the loom with a point (apex) to the top and bottom and the double rows of pins to the sides as we won’t be using these yet.
On the left side at the top of the vertical row, tie on your warp with a simple slipknot.
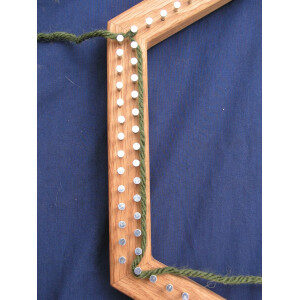
From there (on the inside of the pins), take the warp down and round (anticlockwise) the bottom pin in that row.
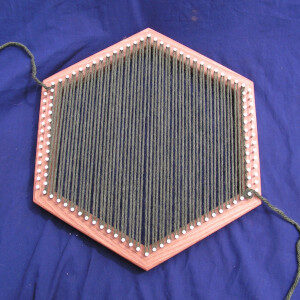
From there take the yarn back up to the 1st pin on the diagonal row (the one next to where you started).
Continue up and down across the frame till fully warped up. You'd normally tie off on the last pin and cut away the ball but as this is only a sample warp, just sit back and have a look at the warp. Due to the geometry of the loom, this has given you an even 8.6mm warp right across the loom. When ready, lift the warp from the loom ready to move on to creating an even 5mm warp.
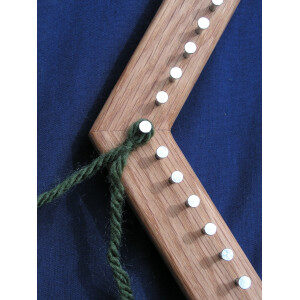
Warp 2- 5mm
Rotate the frame so the double pin rows are top and bottom. Tie on to the extreme left pin where the 2 diagonals meet in the middle of that edge.
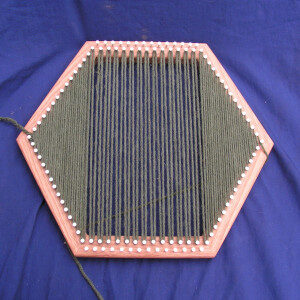
Now just warp up and down as before. For the moment, ignore the extra (outer) row of pins top and bottom. See how the warp spacing changes as soon as you start weaving across the top and bottom rows. For the exercise carry on warping right across the frame. You now have a frame warped at 5mm on the sides and 10mm in the middle. It may be a design feature you could use to effect in a future project.
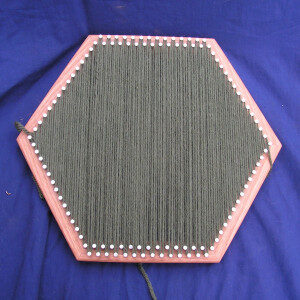
However for this exercise let's undo the warp right back to the start of the top row. Now we bring in the extra rows of pins and weave up and down using every available pin. Now you have the 5mm warp. So fine you may even consider using Lace Weight yarns on this setting but do continue to play with light and heavy yarns to fully explore your weaving options. For now, just have a good look at it and see how the tension on the fully warped loom feels. Once we start weaving across the warp, the overall weave tension will increase. Better to be on a lower tension at this point. Also if the tension in the finished weave is high, then the weave when lifted from the loom will contract more than if woven with a lower tension.
While the weave when on the loom may / can look very open, once lifted from the loom, the tension will take over, the weave relax and the spaces close.
Warp 3 - 10mm
Maintain the same frame orientation. Start at the same point
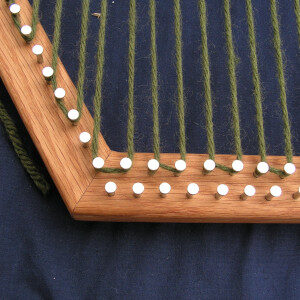
So how to achieve a 10mm warp right across the frame. We’ve already learned that by ignoring the outer top and bottom pins the middle of the weave will produce a 10mm warp. But what of the sides? Dead easy, simply warp up every other pin as you go up and down on the diagonals. Just warp up the entire frame again to get the feel of it.
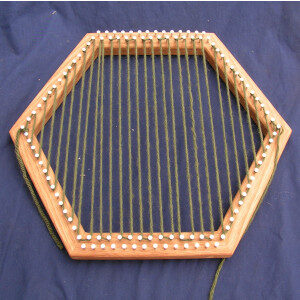
Note that in order to keep the warp even I've warped to the same side of the pin top and bottom. Had I gone left at the top and right at the bottom then the alignment of the warp would be 2.5mm out top to bottom. In reality it would make little difference to the weave once lifted from the loom as it would naturally adjust evening out out irregularities. Use whichever technique you find easiest.
Sit back, have a good look at it, maybe set a few warps left right while leaving others to the left or right sides and see the difference. Hopefully you didn't make the mistake I now see in the picture above. Undo.
Warp 4 - 15mm
Now this is a bit of a fiddle but should yield good results very quickly with chunky yarn.
Similar to the 10mm warp a bit trickier. While it misses out more pins and uses all pin rows, some pins will require warping anti clockwise to allow the warp to follow through evenly spaced. As above, ideally try and keep the warp to the same side of the pins top and bottom.
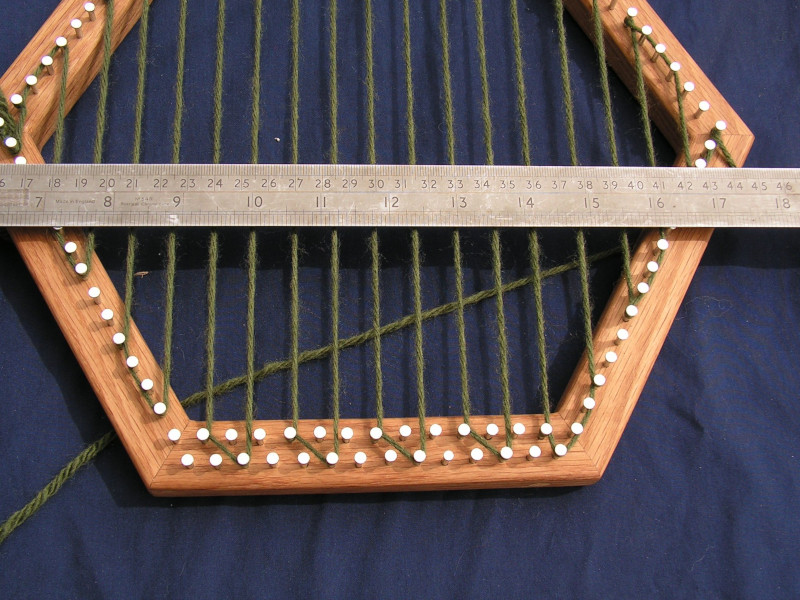
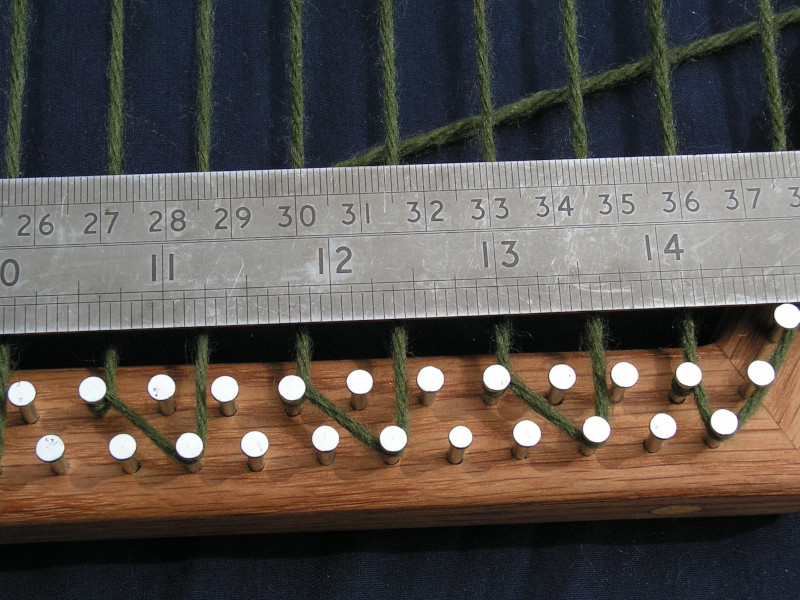
Warp 5 is lower down the page as it's basically repeating Warp 1 above but woven differently.
Applying the weft - weaving across the warp
This is reasonably straightforward in that the quickest technique is a type of continuous weave whereby the weft is drawn from one side to the other, alternating over / under the weft and hooking on the the first available pin on the opposite side.
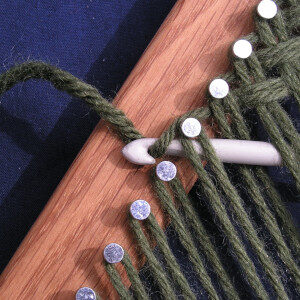
I use a crochet hook, others may use a large eyed needle of fingers.
Hooking the weft. I usually twist the hook slightly to a) be sure of grabbing the weft properly and b) to avoid accidentally hooking the warp as the yarn is drawn through
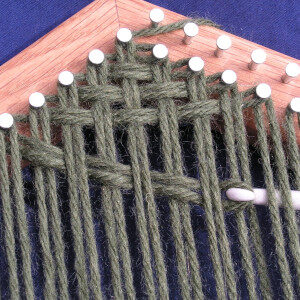
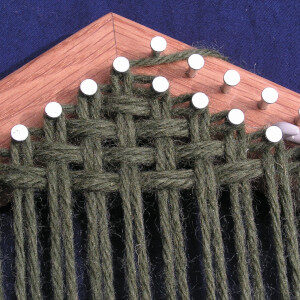
Have a look at the this picture before going too far with this !
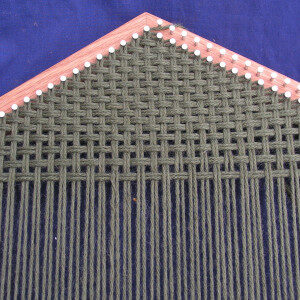
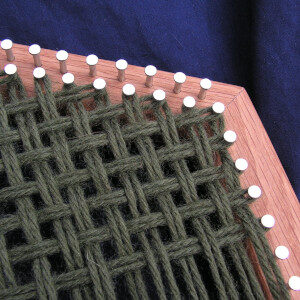
It's that geometry in action again. See how while we have a nice even vertical warp the sides change from 5 to 10mm and back again.
Solution, miss out a pin again
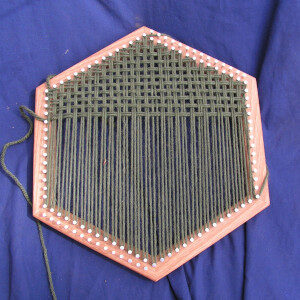
Now we have a nice even weave.
The alternative is to use a single strand of yarn over and under the warp and back and forwards. Weaving this way will require you to measure up the yarn first. Actually that's pretty simple. Just tie on to a pin as you did for setting up the warp on the 5 or 10mm above and go pin to pin over the warp till you reach the last available pin. Add a little extra length, and take it off. This is the length of the weft you require for a full singe colour weave.
Changing Colours
This can be done at any point with warp and or weft. Start off with colour 1 till you want to change. Leave it attached to the ball then lead in your new colour once across the loom leaving behind a few inches to tie on to the previous colour. When you've put in the first full weft of the new colour, go back and tie up the end of the old and the start of the new colours. This way the join fall on the outside edge of the weave right on a pin.
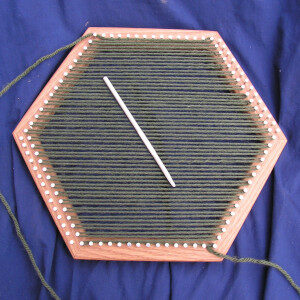
Warp 5 - Diagonal bias weave
Essentially set up the warp as for a 5 or 10mm weave.
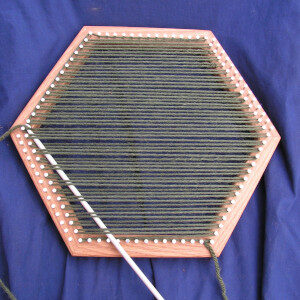
Now start to lay in the weft - diagonally
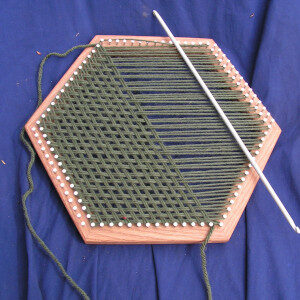
!!!!!! This weave may not behave as you expect. It may produce a lozenge shape so be the length you anticipate, but much narrower.
A nice alternative design feature to be used in home decor or wearable textile design.
Lifting the weave
Because this isn't a locked in weave you will need to pick up and secure the edges.
Technique 1 is to use a casting off stitch as you would with knitting. This produces a nice edge but by its nature, to my way of looking at it, adds more tension and may result in additional shrinkage or distortion of the weave when lifted.
My preferred edge finish is to run a "pick up" yarn right around the edge. This is a single strand picking up every loop on the pins just so they can't retreat into the weave on lifting. Use a large eyed needle or similar to do this. Provides a softer edge and ultimately less shrinkage on lifting.
